Badges
Badges are a unified way to present condensed pieces of information about your projects. They consist of a small image and a URL that the image points to. Examples for badges can be the pipeline status, test coverage, latest release, or ways to contact the project maintainers.
Project badges
Badges can be added to a project by Maintainers or Owners, and are visible on the project’s overview page. If you find that you have to add the same badges to several projects, you may want to add them at the group level.
Add a badge to a project
To add a new badge to a project:
- On the top bar, select Main menu > Projects and find your project.
- On the left sidebar, select Settings > General.
- Expand Badges.
- Under Link, enter the URL that the badges should point to.
- Under Badge image URL, enter the URL of the image that should be displayed.
- Select Add badge.
After adding a badge to a project, you can see the badge in the list below the form.
Edit or delete a project badge
To edit a badge, select Edit ().
To delete a badge, select Delete ().
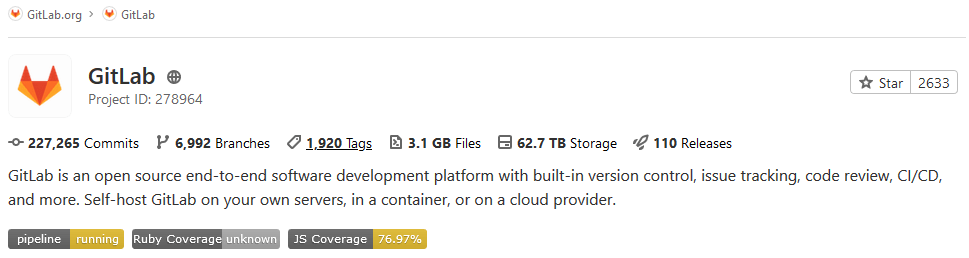
Example project badge: Pipeline Status
A common project badge presents the GitLab CI pipeline status.
To add this badge to a project:
- On the top bar, select Main menu > Projects and find your project.
- On the left sidebar, select Settings > General.
- Expand Badges.
- Under Name, enter Pipeline Status.
- Under Link, enter the following URL:
https://gitlab.com/%{project_path}/-/commits/%{default_branch} - Under Badge image URL, enter the following URL:
https://gitlab.com/%{project_path}/badges/%{default_branch}/pipeline.svg - Select Add badge.
Group badges
By adding a badge to a group, you add and enforce a project-level badge for all projects in the group. The group badge is visible on the Overview page of any project that belongs to the group.
If you need individual badges for each project, either:
- Add the badge at the project level.
- Use placeholders.
Add a badge to a group
To add a new badge to a group:
- On the top bar, select Main menu > Groups and find your group.
- On the left sidebar, select Settings > General.
- Expand Badges.
- Under “Link”, enter the URL that the badges should point to and under “Badge image URL” the URL of the image that should be displayed.
- Select Add badge.
After adding a badge to a group, you can see it in the list below the form.
Edit or delete a group badge
To edit a badge, select Edit ().
To delete a badge, select Delete ().
Badges associated with a group can be edited or deleted only at the group level.
Placeholders
Both the URL a badge points to and the image URL can contain placeholders, which are evaluated when displaying the badge. The following placeholders are available:
-
%{project_path}: Path of a project including the parent groups -
%{project_title}: Title of a project -
%{project_name}: Name of a project -
%{project_id}: Database ID associated with a project -
%{default_branch}: Default branch name configured for a project’s repository -
%{commit_sha}: ID of the most recent commit to the default branch of a project’s repository
Use custom badge images
Use custom badge images in a project or a group if you want to use badges other than the default ones.
Prerequisites:
- A valid URL that points directly to the desired image for the badge. If the image is located in a GitLab repository, use the raw link to the image.
Using placeholders, here is an example badge image URL referring to a raw image at the root of a repository:
https://gitlab.example.com/<project_path>/-/raw/<default_branch>/my-image.svg
To add a new badge with a custom image to a group or project:
- On the top bar, select Main menu and find your group or project.
- On the left sidebar, select Settings > General.
- Expand Badges.
- Under Name, enter the name for the badge.
- Under Link, enter the URL that the badge should point to.
- Under Badge image URL, enter the URL that points directly to the custom image that should be displayed.
- Select Add badge.
To learn how to use custom images generated through a pipeline, see the documentation on accessing the latest job artifacts by URL.
Configure badges through the API
You can also configure badges via the GitLab API. As in the settings, there is a distinction between endpoints for badges at the project level and group level.