DingTalk OAuth 2.0 OmniAuth provider
Introduced in GitLab 14.5.
You can sign in to GitLab using your DingTalk account. Sign in to DingTalk Open Platform and create an application on it. DingTalk generates a client ID and secret key for you to use.
-
Sign in to DingTalk Open Platform.
-
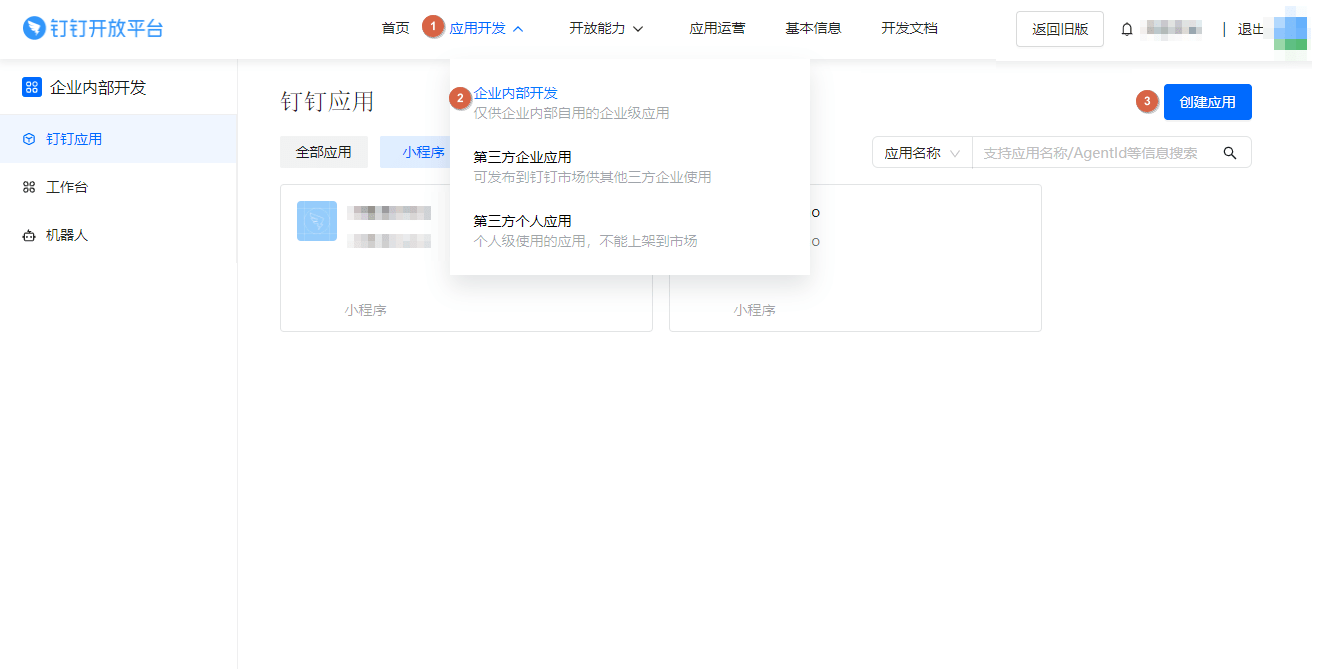
On the top bar, select Application development > Enterprise internal development and then select Create Application.
-
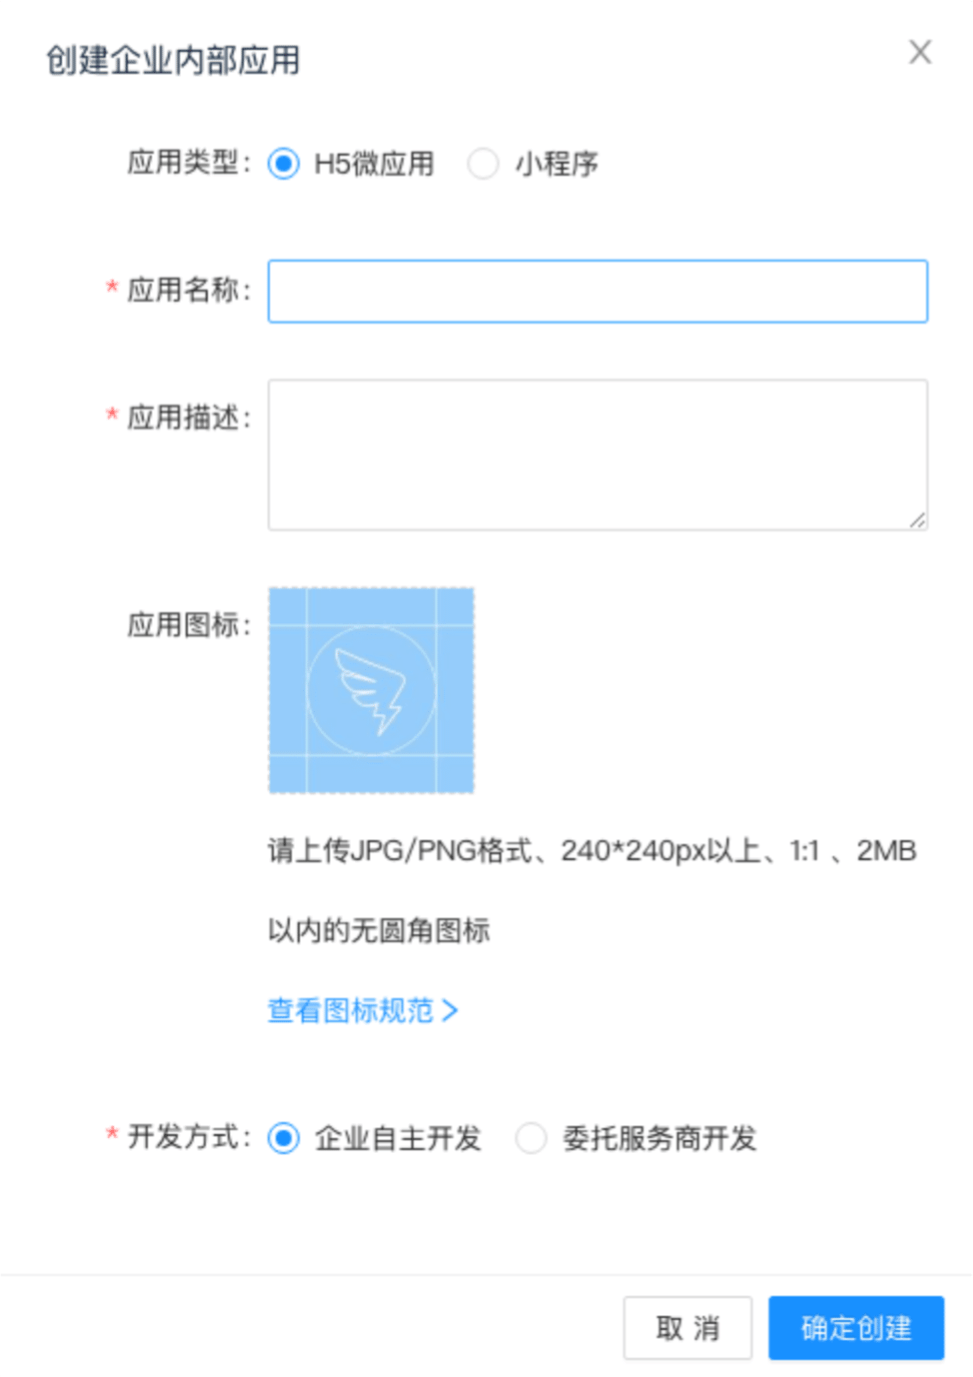
Fill in the application details:
-
Application Name: This can be anything. Consider something like
<Organization>'s GitLab,<Your Name>'s GitLab, or something else descriptive. - Application Description: Create a description.
- Application icon: Upload qualified icons if needed.
-
Application Name: This can be anything. Consider something like
-
Select Confirm and create.
-
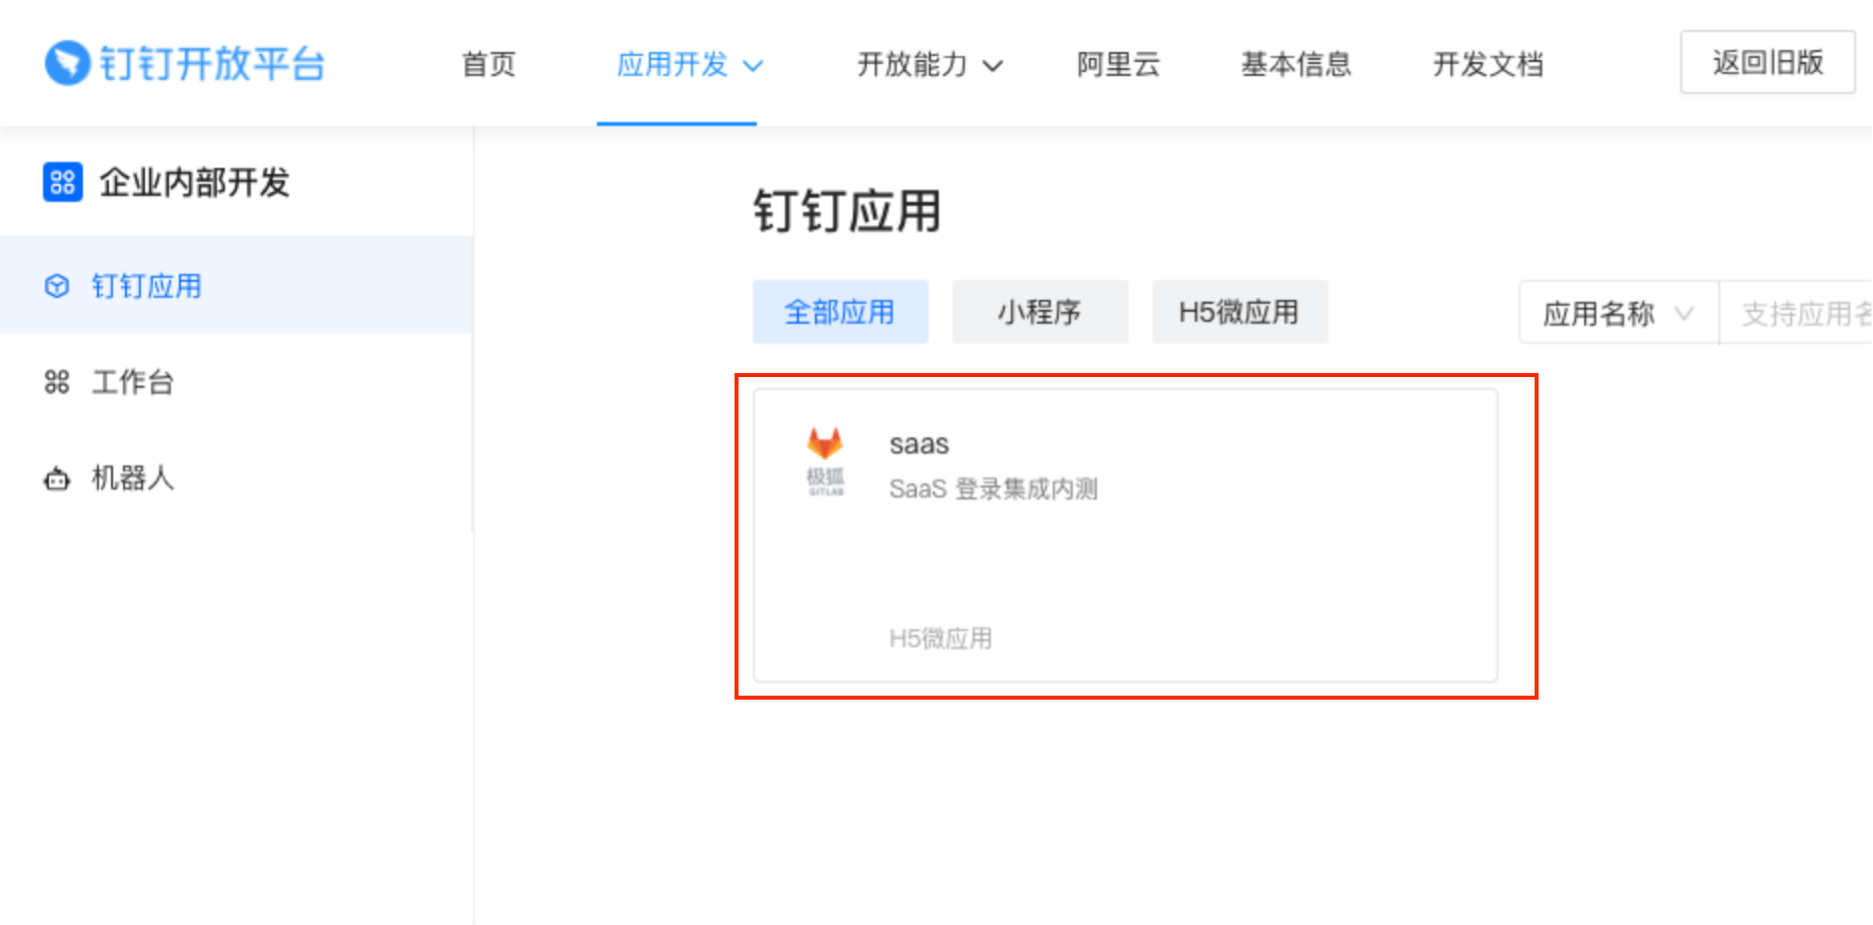
On the left sidebar, select DingTalk Application and find your application. Select it and go to the application information page.
-
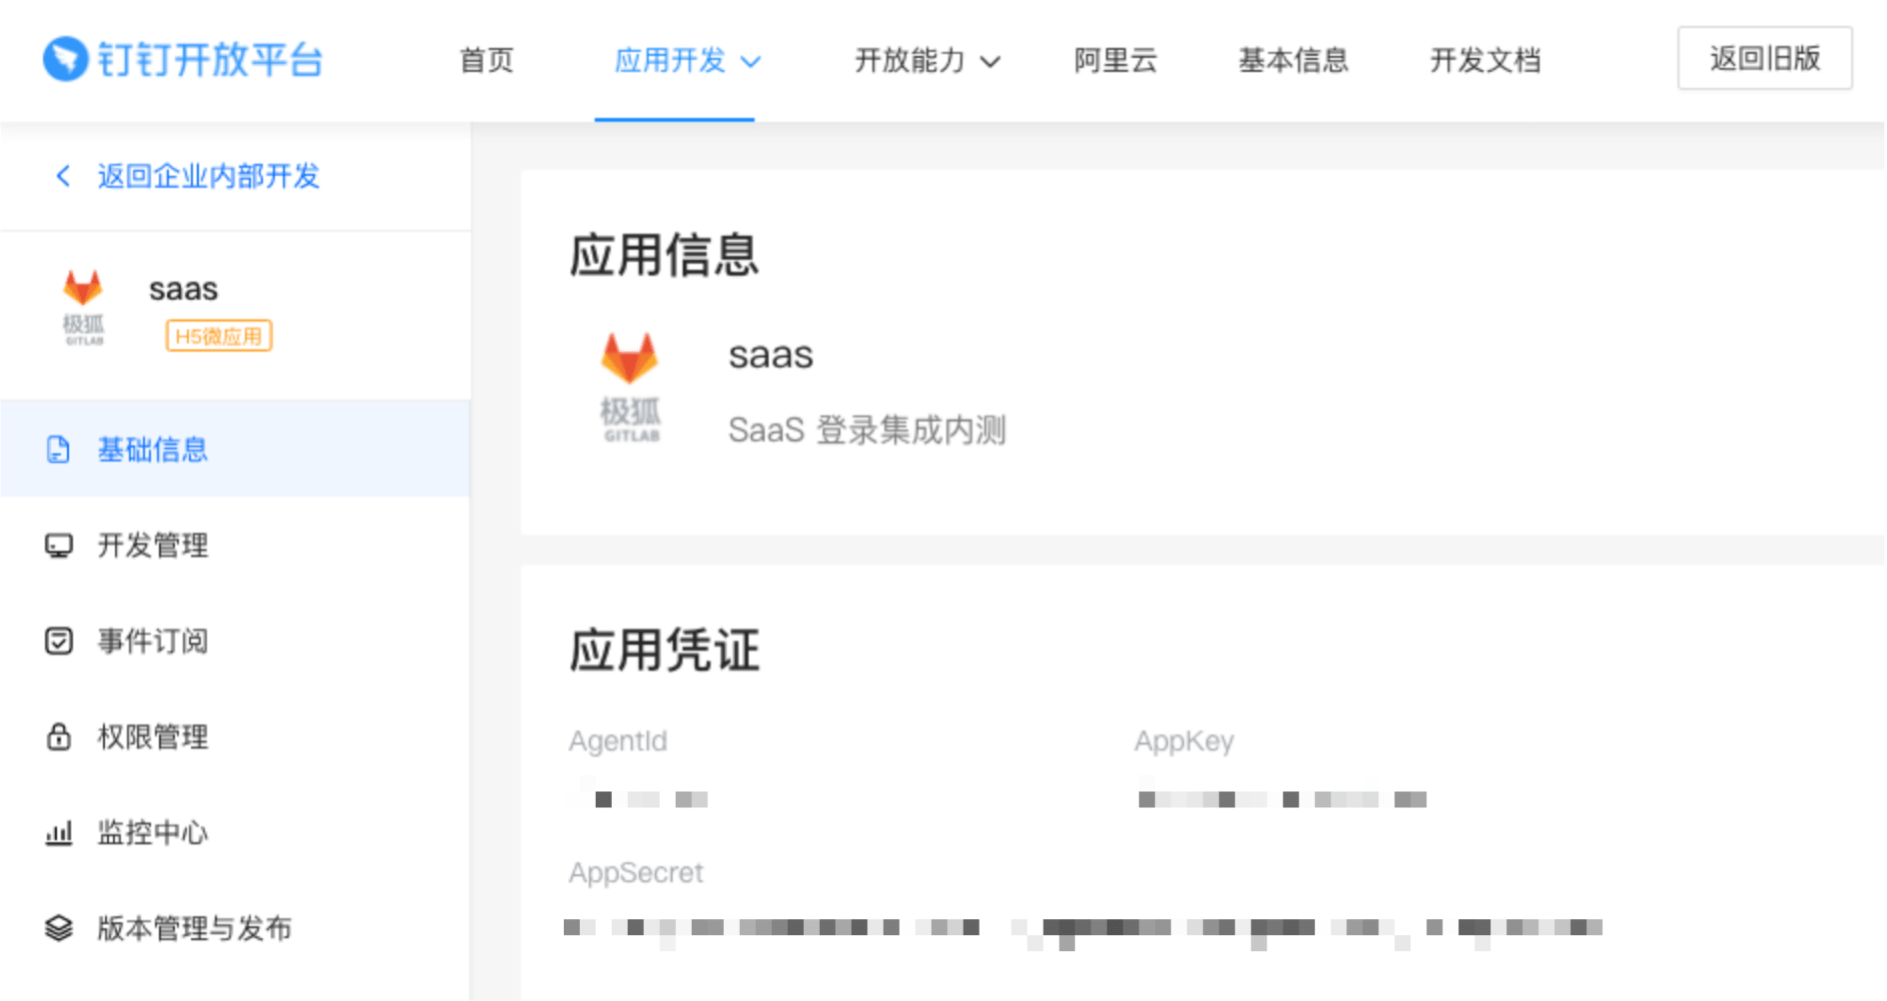
In the Application Credentials section, note the AppKey and AppSecret as you use these values later.
-
On your GitLab server, open the configuration file.
For Omnibus package:
sudo editor /etc/gitlab/gitlab.rbFor installations from source:
cd /home/git/gitlab sudo -u git -H editor config/gitlab.yml -
Edit the common configuration file settings to add
dingtalkas a single sign-on provider. This enables Just-In-Time account provisioning for users who do not have an existing GitLab account. -
Add the provider configuration:
For Omnibus package:
  gitlab_rails['omniauth_providers'] = [
    {
      name: "dingtalk",
      # label: "Provider name", # optional label for login button, defaults to "Ding Talk"
      app_id: "<your_appkey>",
      app_secret: "<your_appsecret>"
    }
  ]
For installations from source:
- { name: 'dingtalk', # label: 'Provider name', # optional label for login button, defaults to "Ding Talk" app_id: '<your_appkey>', app_secret: '<your_appsecret>' } -
Replace
<your_appkey>with the AppKey from the Application Credentials in step 6. -
Replace
<your_appsecret>with the AppSecret from the Application Credentials in step 6. -
Save the configuration file.
-
For the changes to take effect, if you installed:
- Using Omnibus, reconfigure GitLab.
- From source, restart GitLab.


